Journal 26 - How I set up my loom to weave denim
By Mosevic Eyewear
In technical terms, weaving is a process of interlacing two sets of yarns at a fixed 90° angle. The two sets of yarns both perform different tasks. The threads known as the weft run horizontally through the long vertical threads known as the warp. In denim weaving, the warp is dyed (read about dyeing cotton here) while the weft threads remain undyed or bleached.
In industry, the weaving process is mainly mechanized, one of the largest denim weaving factories in the world has 2,000 high tech automated looms.

For the purpose of this journal entry, I’m going to show you the various stages of how denim is woven on a hand weaving loom. The denim that we use to make our sunglasses is much finer than the denim I’ll be producing, the steps will follow a slightly similar process to industrial weaving, just on a much, much smaller scale.
Before weaving commences, some calculations need to be carried out to determine how many warp ends are needed to make the required width of fabric.
The yarn I’m working with is a 16/2 cotton. The number 2 means there are two strands of cotton twisted together to make a 2-ply yarn. Plying, gives strength to the yarn making it a perfect choice for denim weaving. The 16 refers to the yarn count. This number tells you what the length per weight is for a single ply of the yarn. The higher the number, the thinner the yarn.


I want the warp to be 32cm wide, so 32 cm wide x 12 ends per cm = 384 (there will be some shrinkage in the width after weaving).
384 is the number of warp ends I will need to wind to create the warp.
I wound the warp using a warping mill, the length you create the warp is dependent on how much fabric you want to make. In this instance, I made the warp 2 meters long (there will be some wastage at each end of the warp).

As you can see in the picture (from a different project), a cross is created by winding the yarn around the wooden pegs of the warping mill. The cross plays a fundamental part in the process as it helps keep the warp ends in order which prevents tangling and breakage. A thick yarn is put through the cross to keep the threads in place when transferring from the warping mill to the loom.
Once the warp is wound, it's then ready to be transferred to the loom. To do this, the warp threads must be spaced evenly using a raddle. There are gaps (dents) within the raddle which the warp threads must be placed. This raddle has 2 dents per cm. To produce our required width of 32cm, there must be 6 warp threads placed in each dent. This is worked out by dividing our sett number (12) by how many dents there are per cm in the raddle (2) 12÷2 = 6.
The cross created when warping enables me to see which 6 warp ends are to be placed in the next dent.

Now the warp is ready to be wound on to the loom. This step is much easier and faster to do with two people. One person needs to be holding the warp with slight tension, making sure any tangles are combed out, while the other winds the warp on to the back beam.

Once the warp has been wound on to the back beam, threading can begin. Each warp end must be passed through a heddle which are often made of metal or cord. The heddles are attached to different shafts on the loom. The shafts control which warp threads will be lifted, and which will remain in a neutral position.
For this warp, a straight thread plan has been used. This means each warp end has been threaded in sequence, starting on shaft 1 and ending on shaft 24. This sequence is repeated over the width of the warp until all warp ends have been threaded through a heddle. Threading 384 warp ends took just over two hours.

Next, the reed which is a metal comb like tool that spaces the warp, guides the shuttle and pushes weft threads in to place needs to be sleyed. Sleying the reed involves pulling the warp threads through the gaps in between the teeth of the reed. But first, we need to calculate how many warp ends need to go in each dent. This reed has 4 dents per cm, to maintain the 32cm width that we want, we need to divide 12 (our sett) by 4 (dents per cm) 12÷4=3.

Three warp ends must go in each dent in the reed. Again, making sure to keep the warp ends in order to avoid tangling.
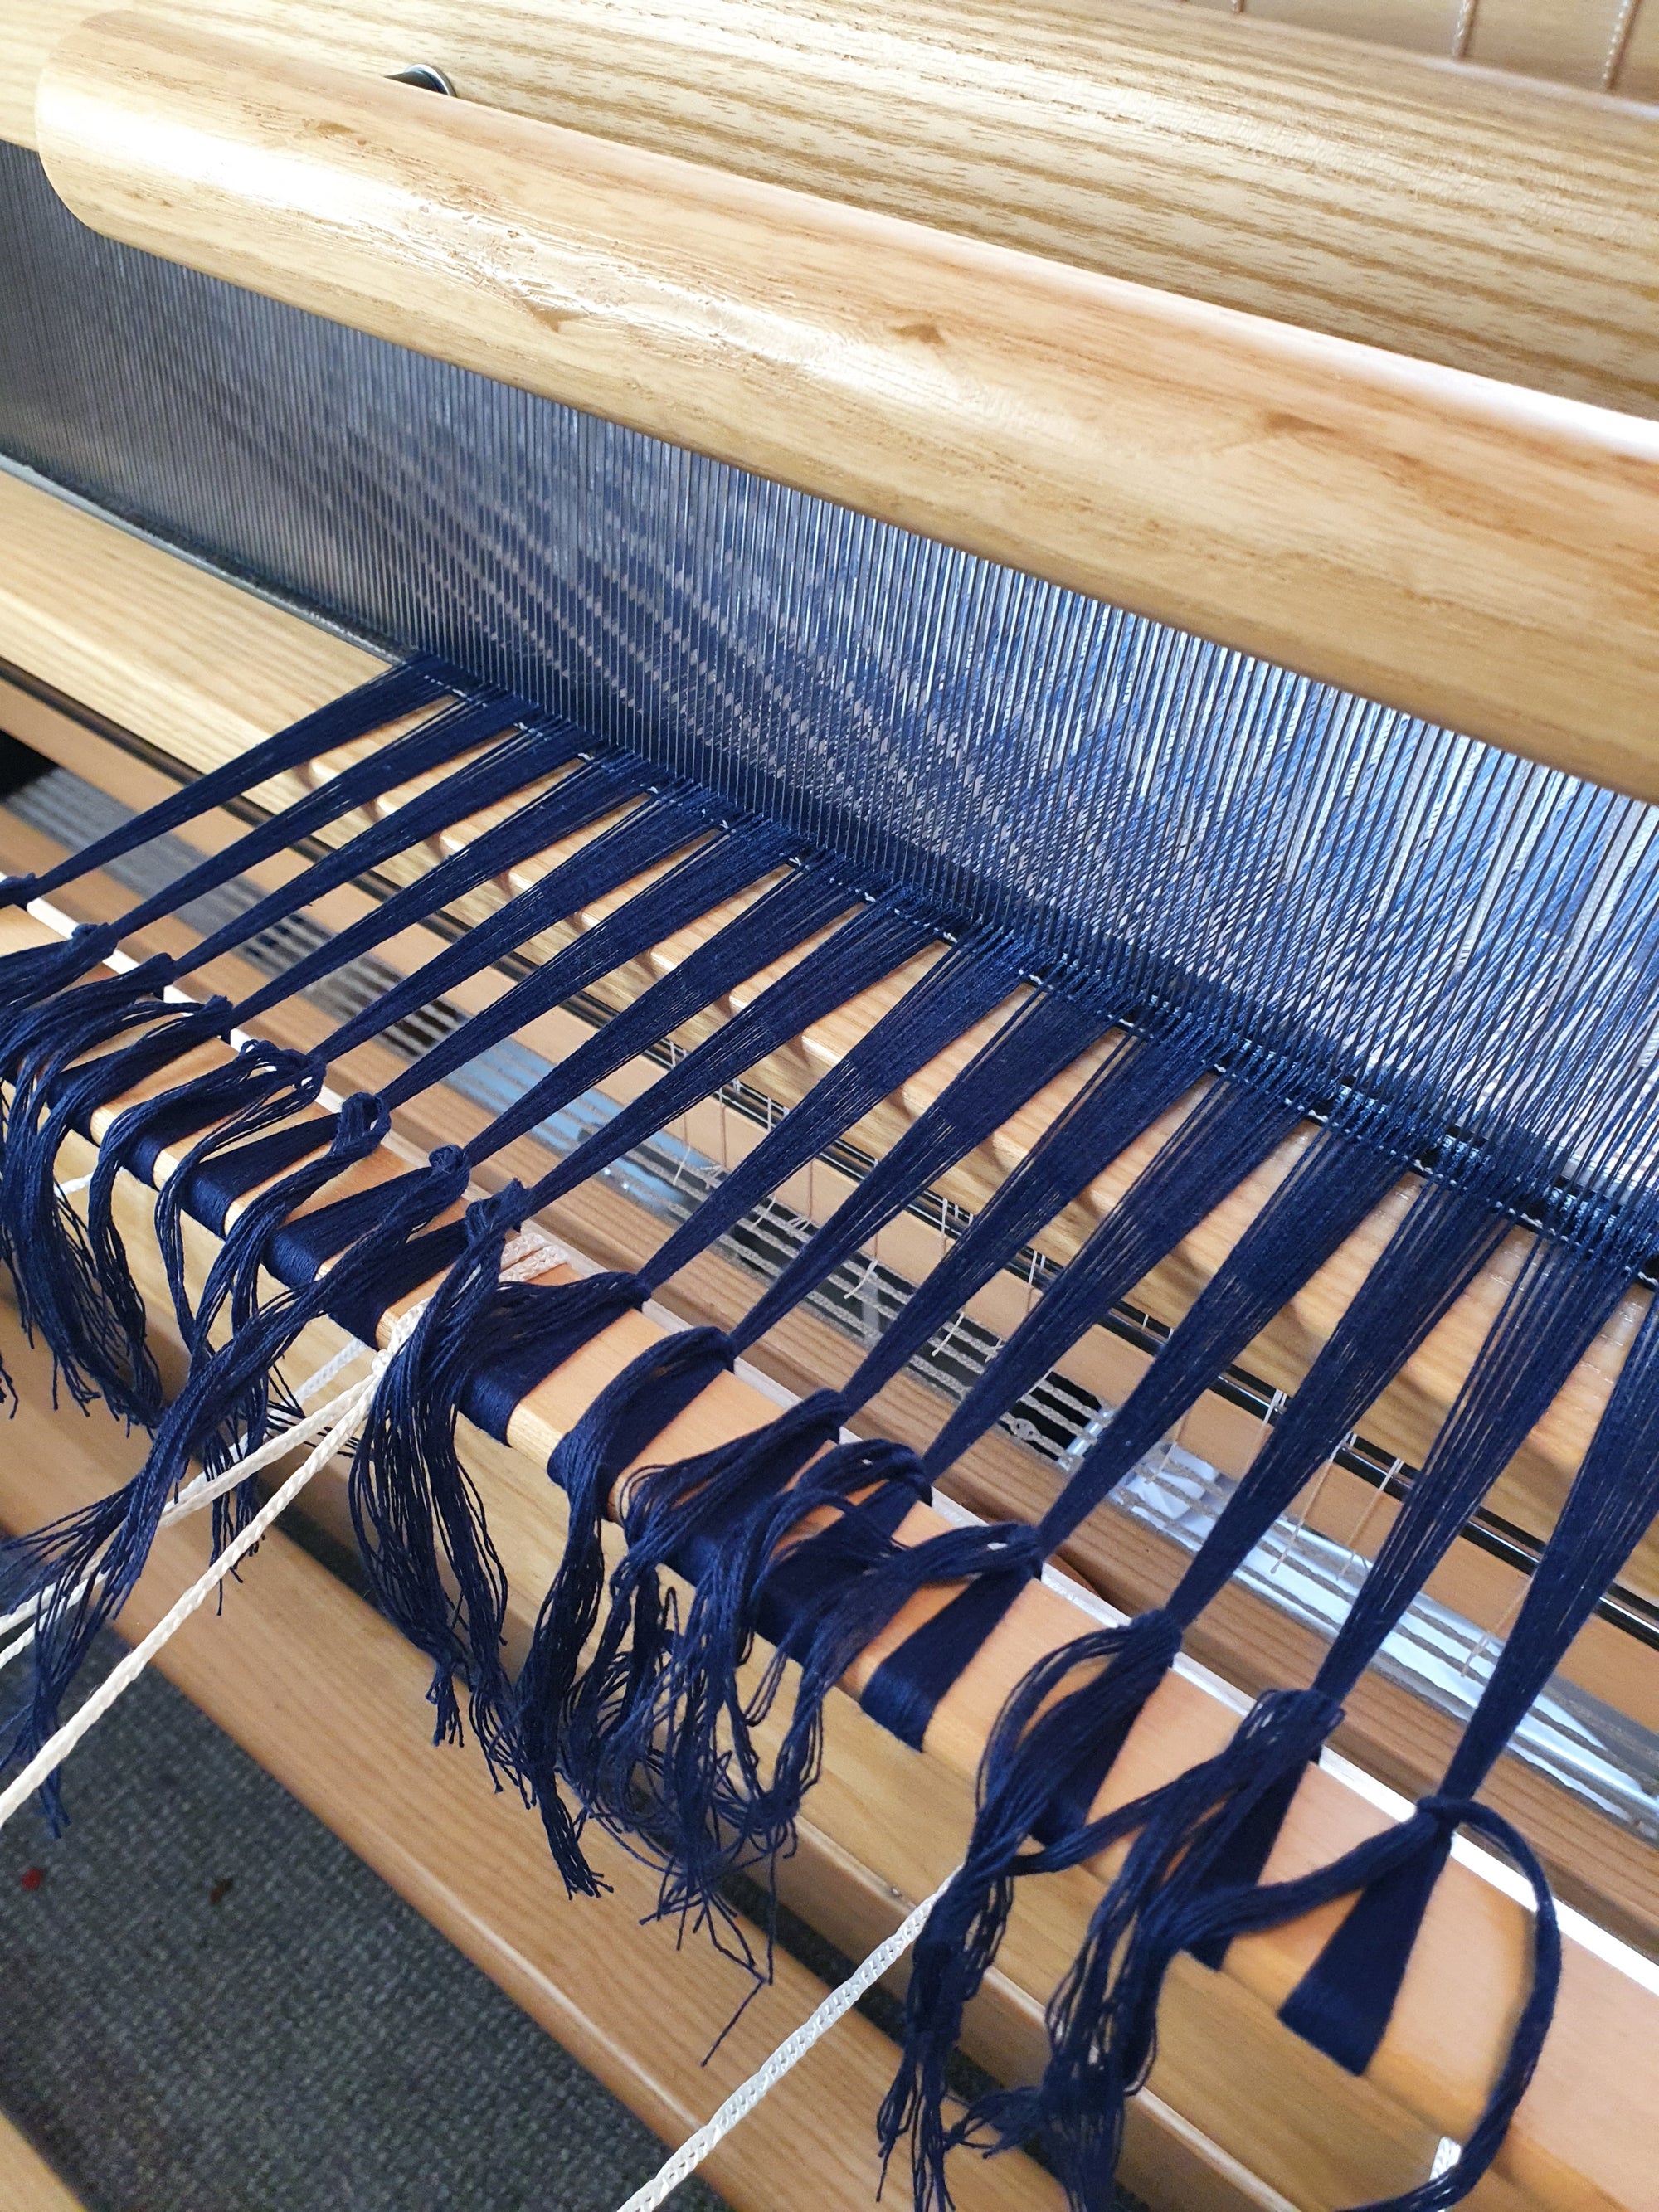
Now that the loom is threaded, the warp can be tied on to the front beam. I tied on the warp in about 1inch sections until all the threads were attached to the beam. It’s important to make sure an even tension is created when tying the warp ends on to the beam, to do this, I ran my hand over the warp to feel for uneven tension and adjusted the threads if needed. 
We are now ready to begin weaving. Come back next time to learn more about different weave structures and to see how the denim turned out!
Image Credits: Image1: https://www.asket.com/gb/factories/raw-denim-weaving-mill

